If you’ve ever wanted to give your home a modern, stylish upgrade without spending a fortune, a Diy wood slat wall is the perfect solution. This simple yet impactful project can completely transform any room, adding warmth, texture, and a custom feel. But before you start, having the right tools and knowing the best techniques will make all the difference. At SlatSolution, we’re sharing the essential tools, expert tips, and insider tricks you need to successfully create your own DIY Wood Slat Wall from start to finish.
Why Build a DIY Wood Slat Wall
A DIY Wood Slat Wall is a popular choice among homeowners and designers alike because it’s cost-effective, easy to customize, and fits nearly any design style. Whether you prefer modern minimalism, mid-century charm, or rustic warmth, wood slats can adapt to your aesthetic. Best of all, you don’t need to be a professional carpenter to make one. With the right guidance, anyone can create a stunning DIY Wood Slat Wall that looks high-end but costs a fraction of what you’d pay for professional installation.
Essential Tools for a DIY Wood Slat Wall
Before you begin, make sure you have all the tools you’ll need for your DIY Wood Slat Wall project. Each tool plays a specific role in ensuring your wall looks clean, aligned, and durable.
Measuring and Marking Tools
- Measuring tape: To determine wall dimensions and slat lengths accurately.
- Level: To ensure your DIY Wood Slat Wall is perfectly straight and even.
- Pencil and chalk line: For marking stud locations and layout lines before installation.
Cutting Tools
- Miter saw or circular saw: Essential for cutting wood slats to the correct size.
- Sandpaper or power sander: To smooth the slats and prepare them for staining or painting.
Installation Tools
- Nail gun or drill: For securely attaching slats to studs.
- Construction adhesive: To reinforce each slat and prevent shifting over time.
- Stud finder: To locate wall studs and ensure your DIY Wood Slat Wall is safely anchored.
Finishing Tools
- Paintbrush or roller: For applying stain, paint, or sealant.
- Wood filler: To hide nail holes or imperfections.
- Cloth or tack rag: For wiping off dust between sanding and staining.
Having these tools ready before starting your DIY Wood Slat Wall ensures a smoother and more efficient building process.
Choosing the Right Materials
Your choice of materials will influence both the look and longevity of your DIY Wood Slat Wall.
Types of Wood
- Pine: Affordable and easy to cut—great for first-time builders.
- Oak: A bit pricier but offers a rich grain and luxurious finish.
- MDF: A budget-friendly alternative for painted designs.
Finishes and Colors
Natural stains highlight the grain for a warm, organic feel, while paint gives your DIY Wood Slat Wall a bold, modern edge. Choose lighter tones for an airy look or deep hues for drama and contrast.
Adhesives and Hardware
Opt for a strong construction adhesive paired with nails or screws for the best stability. The combination ensures your DIY Wood Slat Wall stays secure over time.
Expert Tips for a Flawless DIY Wood Slat Wall
Tip 1: Plan Your Layout Before You Start
Map out where each slat will go. Decide on the direction (vertical or horizontal) and spacing between slats. Even a ¼-inch difference can change the entire look of your DIY Wood Slat Wall. Use spacers for consistent gaps.
Tip 2: Prep the Wall Surface
A clean and smooth wall is essential. Remove nails, fill holes, and wipe off dust before installation. If you want a bold contrast, paint the wall behind the slats a dark color—this helps your DIY Wood Slat Wall stand out beautifully.
Tip 3: Cut Precisely and Sand Smoothly
Accurate measurements make installation easier and ensure tight, seamless edges. Sanding your wood thoroughly helps the stain or paint adhere better and gives your DIY Wood Slat Wall a professional finish.
Tip 4: Secure Properly
Apply adhesive on the back of each slat and press it onto the wall, then nail or screw into studs for extra hold. Double-check alignment with a level every few slats to avoid uneven rows.
Tip 5: Finish Like a Pro
Once installed, fill nail holes with wood filler, then sand lightly for a clean surface. Apply a final coat of stain or sealant to protect your DIY Wood Slat Wall and enhance its natural beauty.
Common Mistakes to Avoid
Even simple projects can go wrong without proper preparation. Avoid these common errors when creating your DIY Wood Slat Wall:
- Skipping measurements: Leads to uneven slats or awkward spacing.
- Using too much adhesive: Can cause messy glue lines between slats.
- Ignoring drying time: Applying stain or paint before the surface dries can result in streaks.
- Not securing to studs: May cause slats to loosen or warp over time.
By steering clear of these mistakes, your DIY Wood Slat Wall will look clean, polished, and long-lasting.
Maintenance Tips for Your DIY Wood Slat Wall
A well-maintained DIY Wood Slat Wall can last for years. Regularly dust it with a soft cloth or vacuum brush to remove buildup. Avoid harsh chemicals, as they can damage the finish. For touch-ups, lightly sand and reapply stain or sealant when needed. These simple steps keep your DIY Wood Slat Wall looking fresh and new.
Inspiration from SlatSolution
At SlatSolution, we’ve helped countless homeowners achieve professional results with their DIY Wood Slat Wall projects. Some of our favorite designs include:
- Vertical oak slats for modern living rooms.
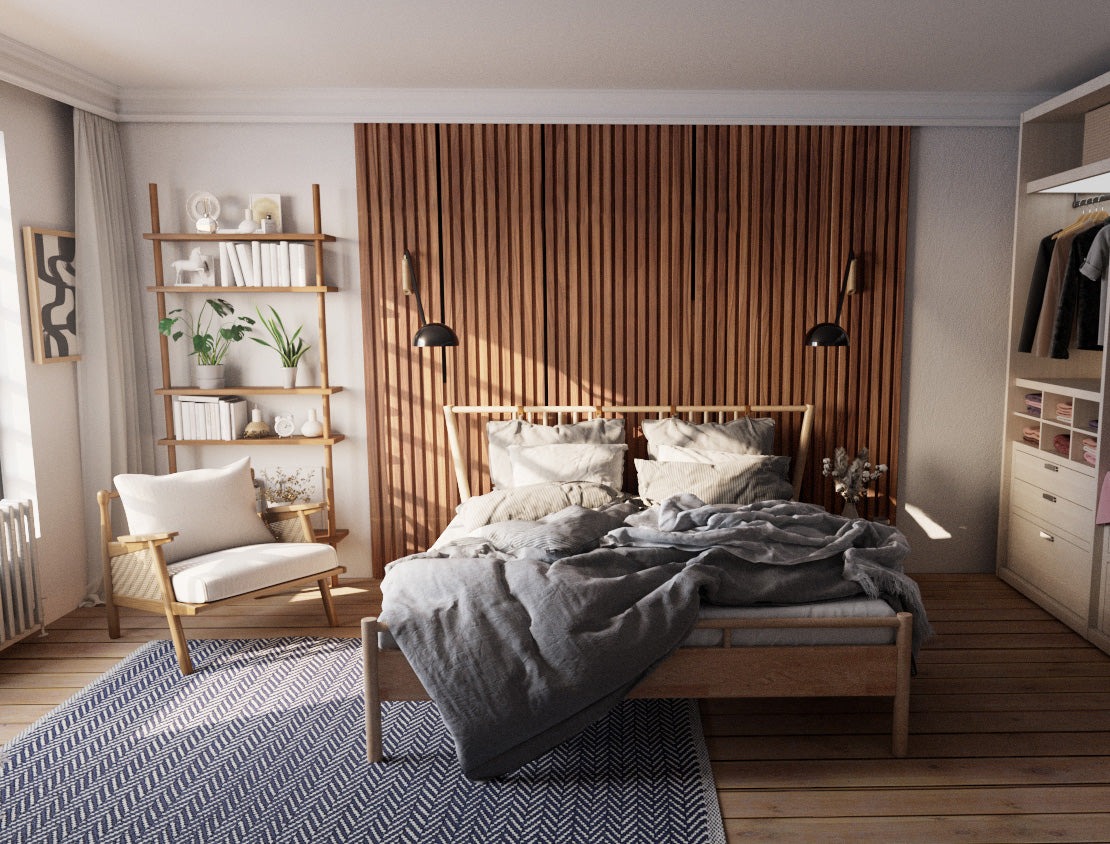
- Horizontal pine walls for cozy bedrooms.
- Painted MDF slats in offices for a sleek, contemporary vibe.
Each project shows how a DIY Wood Slat Wall can elevate your space, no matter your skill level or budget.
Conclusion
Building a DIY Wood Slat Wall doesn’t require advanced skills—just the right tools, good planning, and a bit of creativity. With this guide from SlatSolution, you’re equipped to take on the project confidently and achieve professional-quality results. Whether you’re refreshing one wall or remodeling an entire room, your DIY Wood Slat Wall will add timeless beauty, warmth, and texture to your home. Start your project today and see how simple tools and smart tips can turn your vision into a stunning reality.